5 Tips for Taking Epic Travel Photos Of Yourself and Family
I am a professional wedding and portrait photographer who has traveled 5/7 continents. I have traveled with friends, and as of recently, my permanent travel buddies are my wife and child[ren]. Over the years, I have deduced my own set of methods for taking travel photographs. Below, I will share with you my top 5 tips for taking Epic Travel Photos of yourself and your family.
1. Environmental Photographs
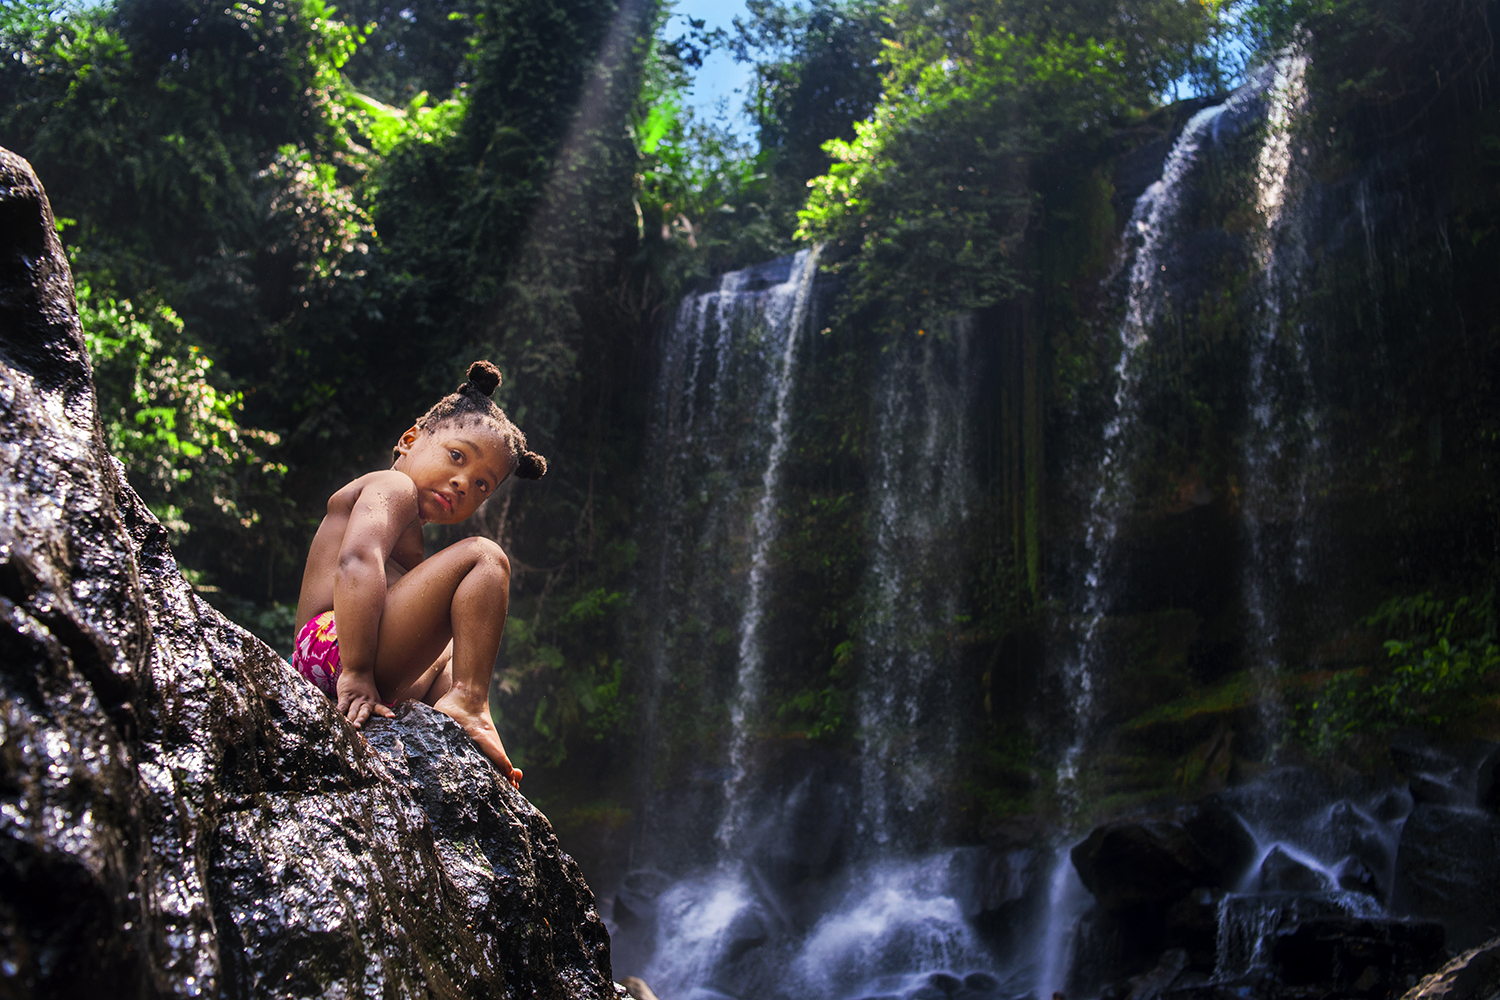
I have come to the realization that the type of photographs that wow friends and family the most are environmental photographs. So what does that mean? Let me explain, a photograph of you in a hotel lobby or some other mundane place is just that: a mundane looking photo. And that means your photo can be in any hotel lobby, even the hotel in your hometown. So if you want to make epic photos then you need to show the environment. Pro-Tip: When you are by yourself, use a small tripod (See Tip #3) or ask someone who is carrying a DSLR to take your photo. Someone with a DSLR probably knows what they are doing. Pre-visualize the shot prior then give specific instructions to the person taking the photo about what you want.
2. Colorful Photos
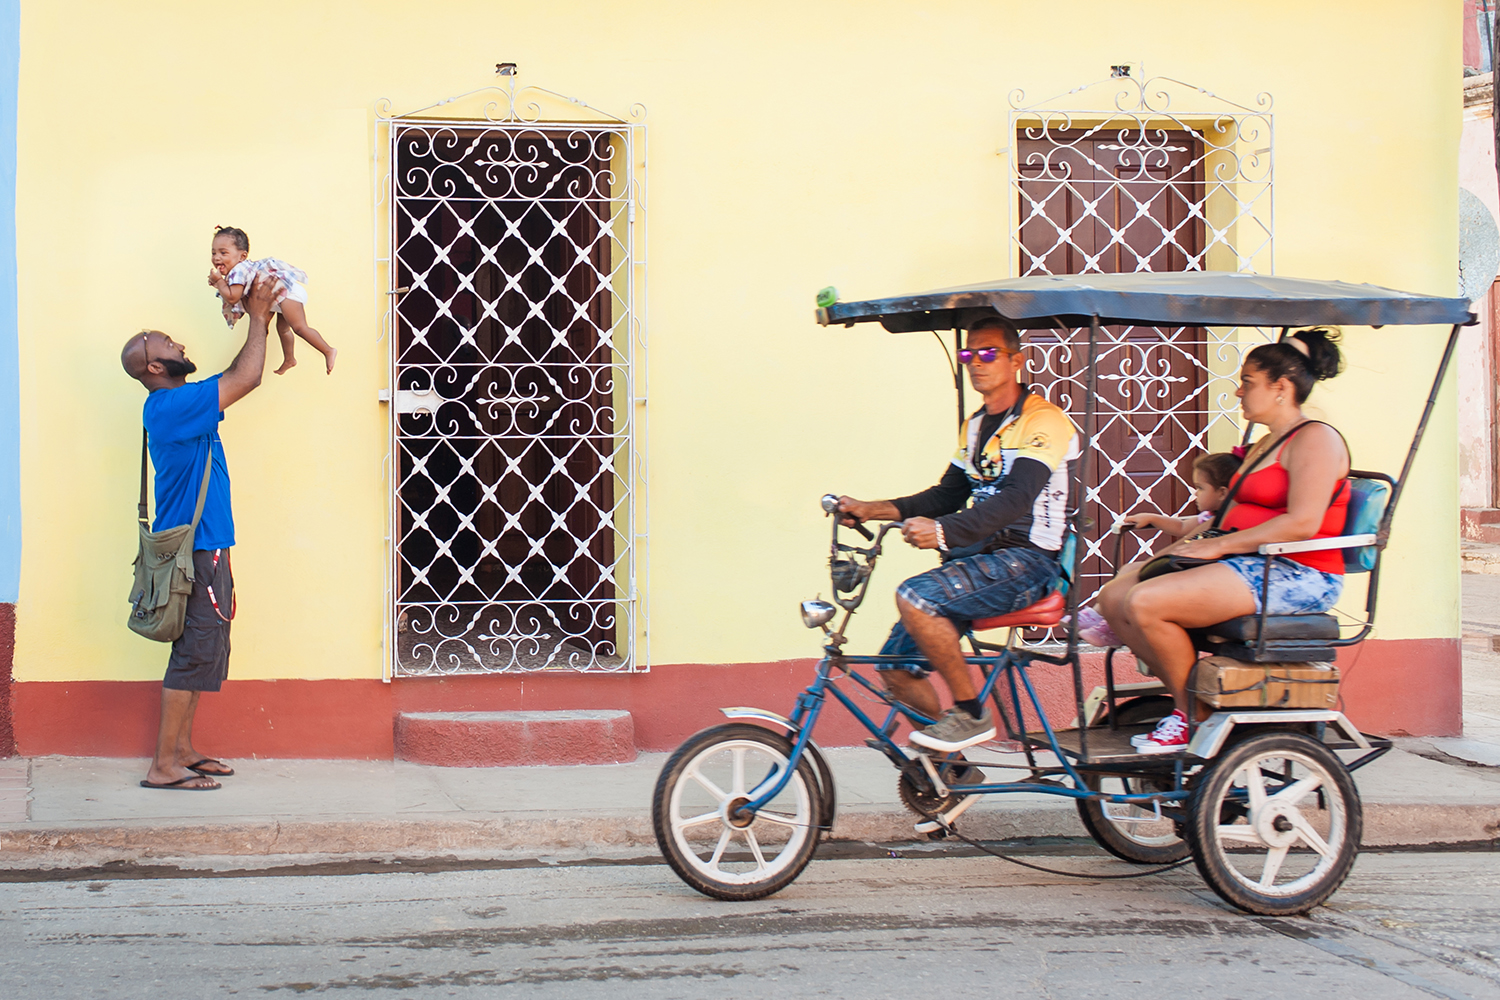
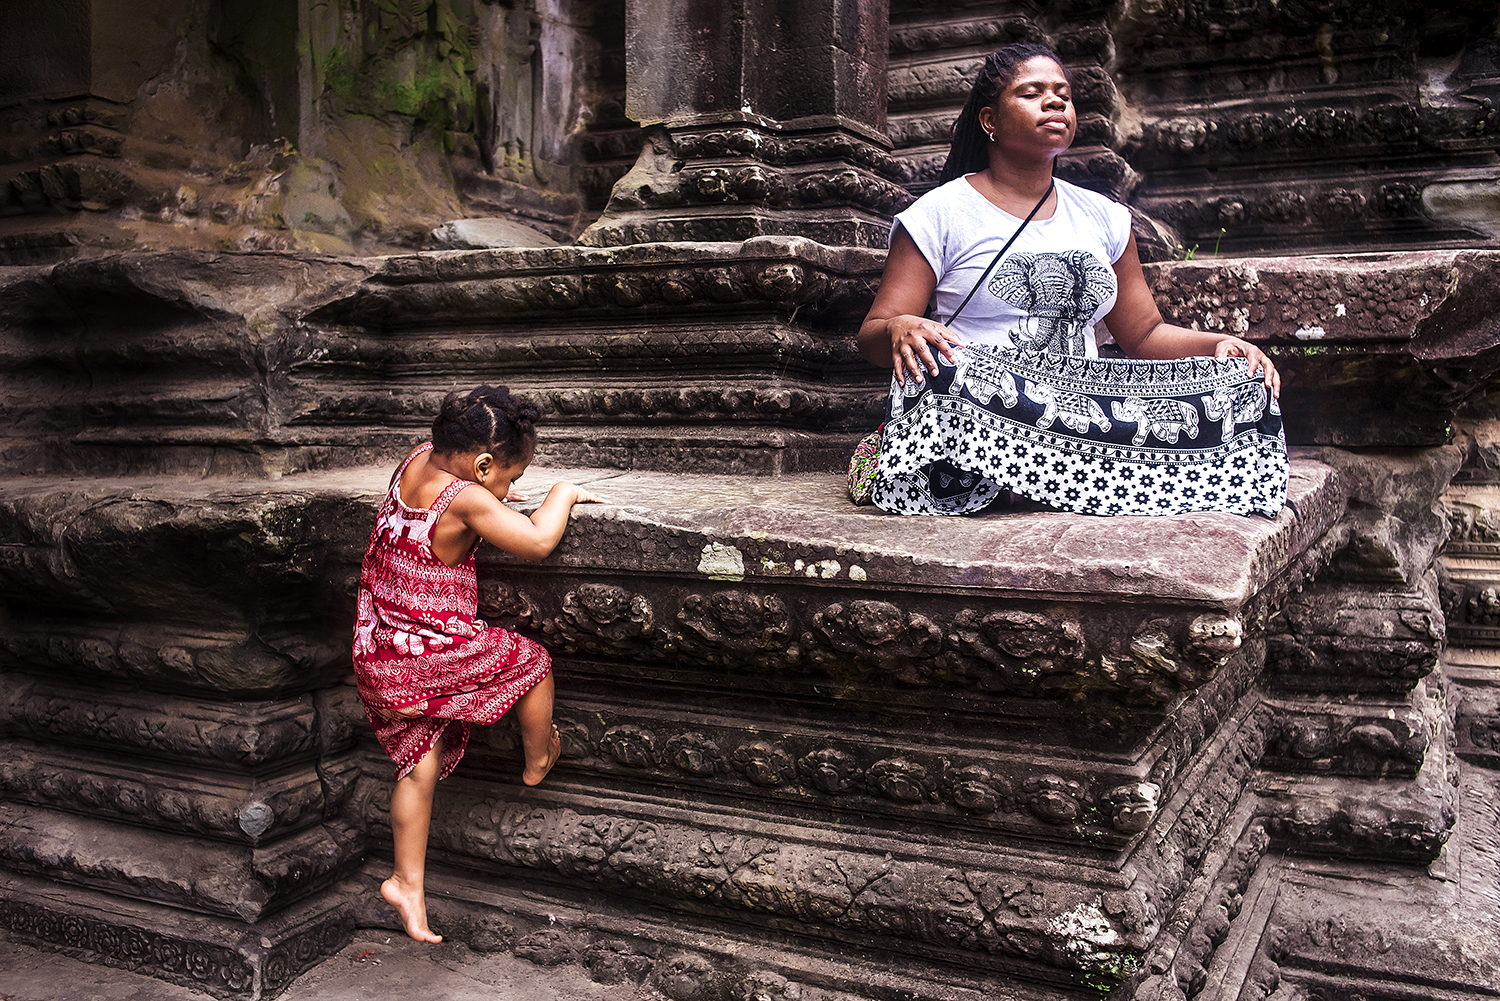
Find colors and photograph them! The brain loves colors because they affect our emotions. Warm colors such as reds, yellows, and oranges evoke emotions of happiness, passion, strength, and optimism, etc. Some of my favorite colors are red, purple, and blue which I like to put in my photographs every chance I can. A great tool to understand is complementary colors, they work great in photographs. For example, if you are going to a forest then a red accessory will pop against a green background. This is why some of my travel friends suggest picking your outfits that are complementary to the environment. Notice the photograph in Tip #4, the moss on the Temple wall complements my daughter’s red outfit.
3. CAMERAS AND EDITING
Cellphones are amazing tools and if that’s all you have, then, by all means, use them for your photography needs. I like to make large wall prints for my home and my iPhone 8 can only do so much, so I prefer to travel with a DSLR. For the non-professional, I’d recommend any entry-level DSLR, an example of an entry-level DSLR is the Nikon D3500 with kit/entry-level lens.
Here are some things you should understand:
- Photography has always been done in 3 main parts i.e. a) take the photo b) process/edit the photo c) print
- You MUST process (sharpen, color correct, contrast, etc.) your photograph after you take it.
- No camera takes “good” photos, good photos are a result of your skill and know-how.
- For hobbyists and professional photographers, you should shoot photos in RAW format.
- Entry-level photographers if you don’t know how to process RAW, then shoot using the largest form of JPG your camera will allow.
- If you are beyond entry-level you can use Lightroom & Photoshop to process your photographs.
- Entry-level photographers, you can use free programs such as Gimp to process your photographs.
- Keep your travel gear as simple as possible: one camera and one or two lenses. You don’t need five lenses and a million accessories.
- Bring lots of memory cards and/or back up your photos every night in case your camera is stolen the next day.
- Print your photographs! your hard drive and your phone will die your prints won’t.
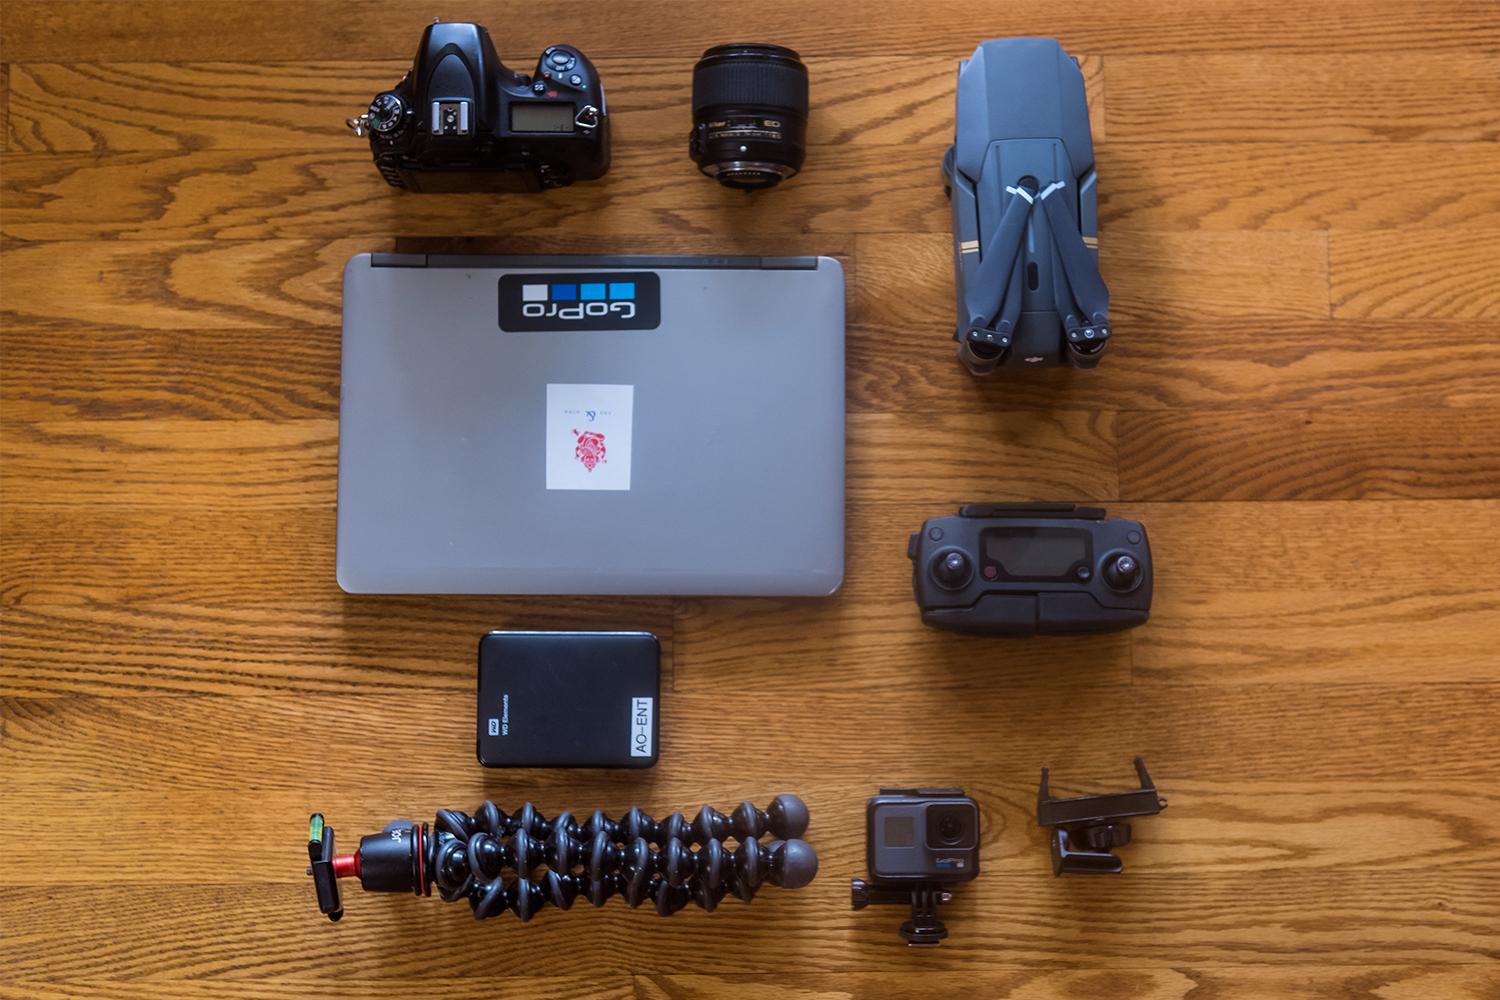
My Travel Kit:
- Nikon D750
- Nikkor 35 mm lens
- DJI Mavic Pro Drone
- Go Pro (for underwater photos/video)
- 13-inch laptop
- Joby Gorillapod (tripod to mount GoPro, DSLR, Cellphone mounting accessory)
- 4 gig Western Digital External Hard drive
PRO-TIP: I purchase 90% of my gear used.
4. Shoot A lot of Photographs
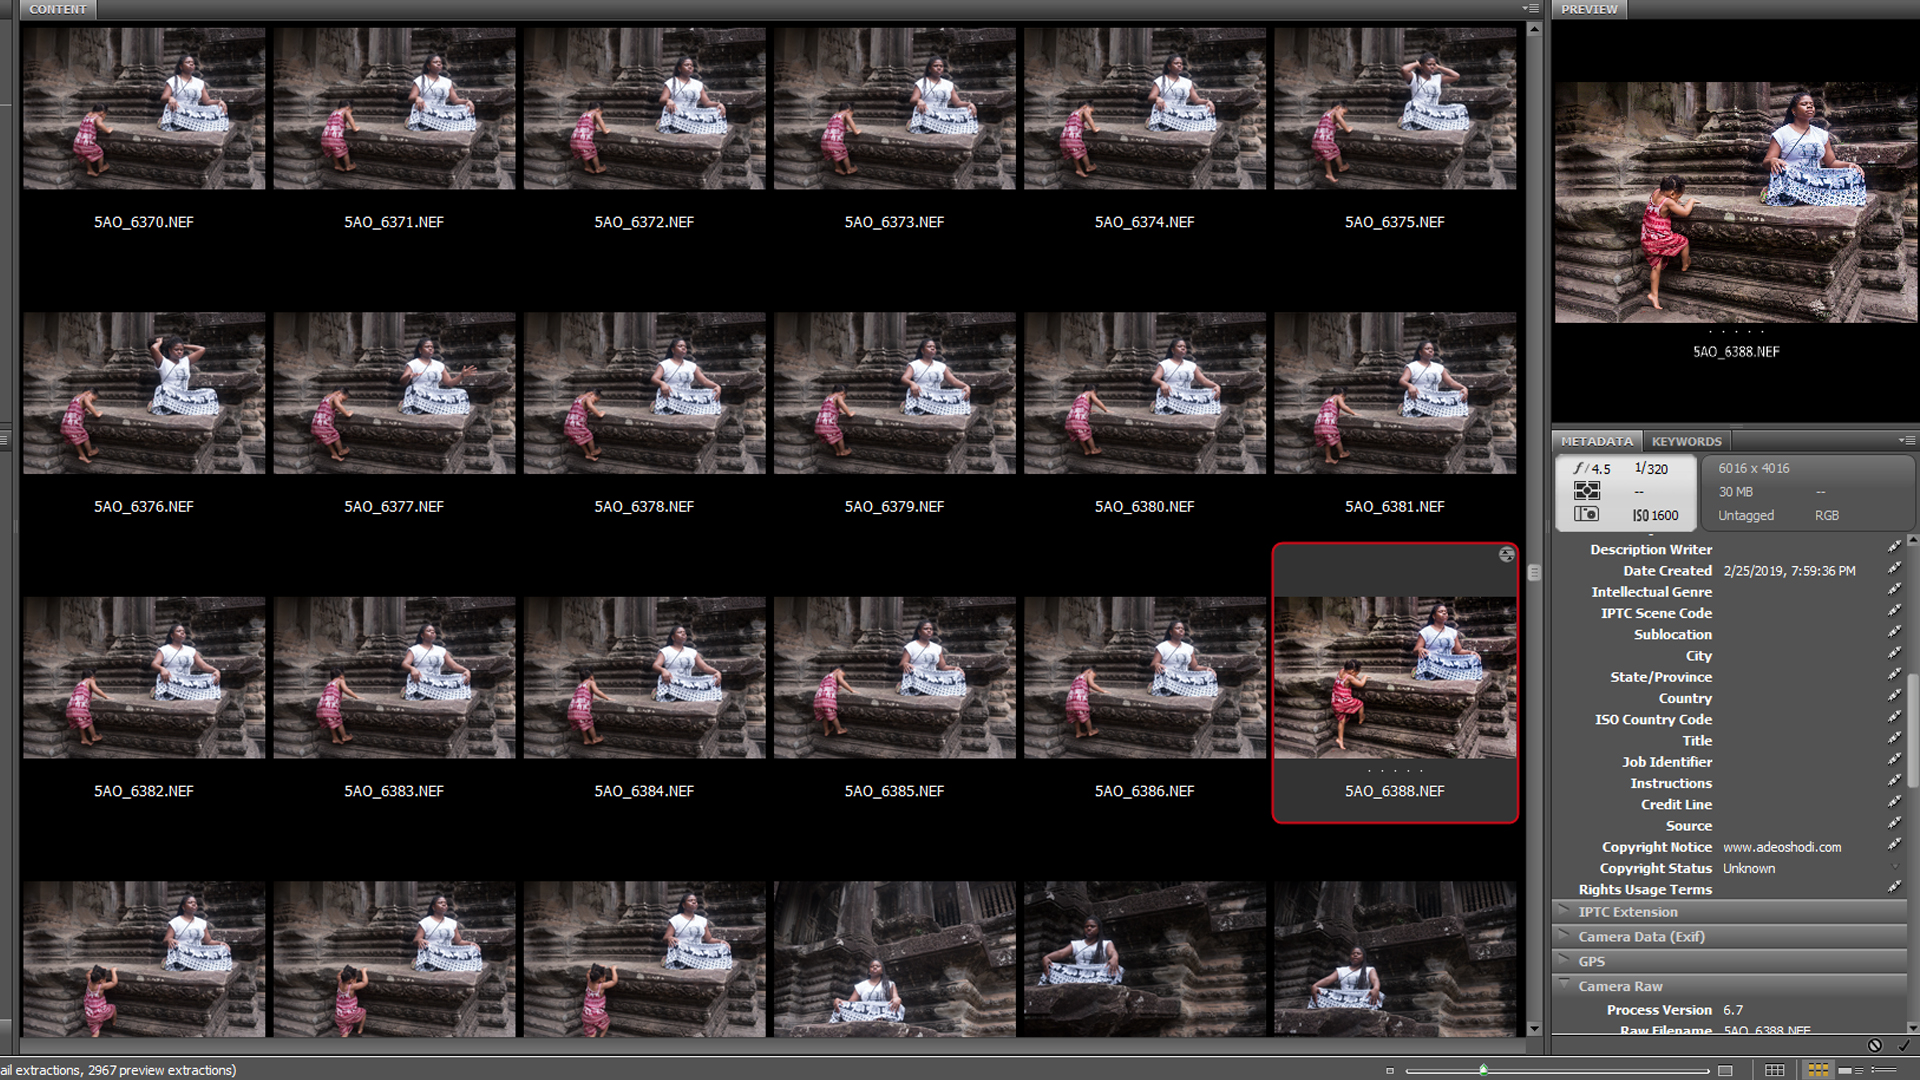
This is probably the most underrated tip and I recommend it over and over. You may not have consciously thought about this before, but taking a lot of photographs to get just one is not a reflection of poor skills; it is indeed the exact opposite. Professional photographers call it sequencing, meaning we take the “same” photograph and make small incremental changes in each photo. When we find the angle that works best, we stick with it and take a lot more and only pick and process the best one. Pro-Tip: Set your camera to burst mode when you are by yourself, and set the timer to take multiple shots. Or ask whosoever is taking your photo to take multiple shots of you. Some cameras have a remote control if you have one use it.
5. SHOOT MULTIPLE PERSPECTIVES:
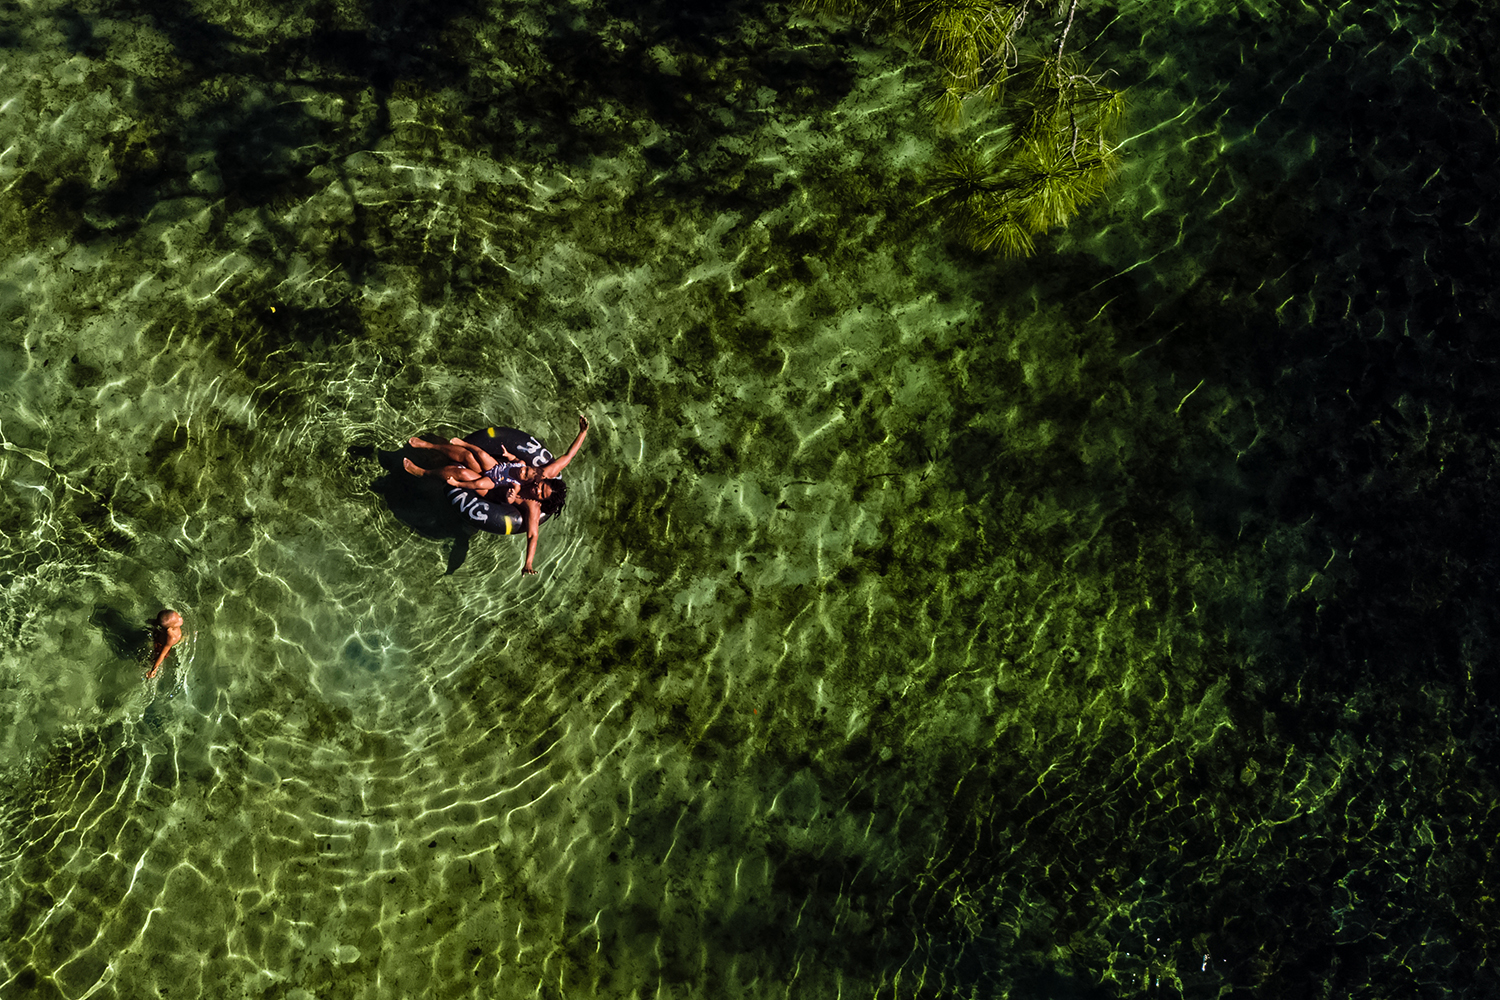
Change your perspective as hinted in tip #3. A lot of photographs are taken at eye level. So changing your perspective is one of the best things you can do, sometimes the angle you start with is not the best. You should get close and shoot, go far back and shoot, shoot from the side, shoot from the back, get high and shoot down, then get low and shoot up. For example, in the photograph in Tip #1, I am shooting from a low angle upwards at my toddler on a rock. Below I used the drone to get an epic top-down aerial perspective.
BONUS: LIVE IN THE MOMENT
My wife is the queen of this concept when we travel, she calls it “self-care.” When overseas she attends dance classes, meditates at random places, savor the sun and her food, as well as she puts away her camera phone as fast as she takes it out. She always reminds me to “put the camera down.” So in order, to balance my passion for photography and living in the moment: when I first get to a place, I get the shot and then I put my camera away. Also by putting your camera away and resting your brain, it allows you to relax and think of fresh ways to make photographs the next time you pick up your camera.


Leave a reply